You are here: PS Series Group Administration > Member Management > Managing the Member Network Configuration > Configuring a Network Interface
After connecting a network interface to a network, as described in the Hardware Maintenance manual for your PS Series array model, you can configure the interface by assigning it an IP address and subnet mask. You can also modify an existing network interface configuration.
Note: Changing the IP address for a functioning network interface will disconnect all iSCSI initiators that are connected to that interface. However, all initiators should reconnect automatically.
To configure a network interface or modify a network interface configuration, click:
Members > member_name > Network tab
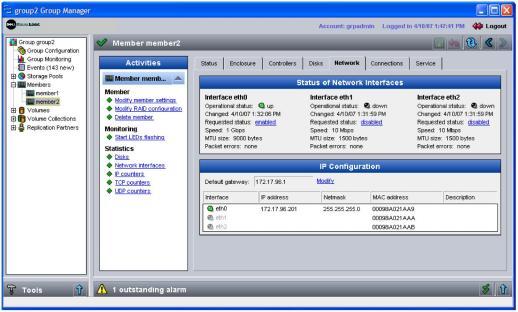
The Member Network window appears (Figure 11: Member Network ), displaying the current network configuration for each network interface on the member.
To configure (or modify) a network interface, double-click the network interface in the IP Configuration panel or select the network interface and click Modify IP settings in the Activities panel. The Modify IP Settings dialog box appears (Figure 12: Modify IP Settings ).
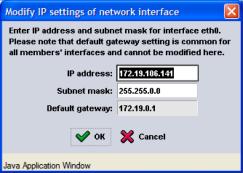
Specify information about the network interface in the following fields and then click OK:
Note: The default gateway is the same for all network interfaces on an array. You cannot modify the default gateway using the Modify IP Settings dialog box. See Modifying the Default Gateway for more information.
Once you configure a network interface, you must enable it, as described in Enabling or Disabling a Network Interface.